The Christmas edit
How to make Christmas photos with your own pictures
A practical walkthrough: choose a photo, find a festive scene, set the image shape, and download your Christmas picture.
Published
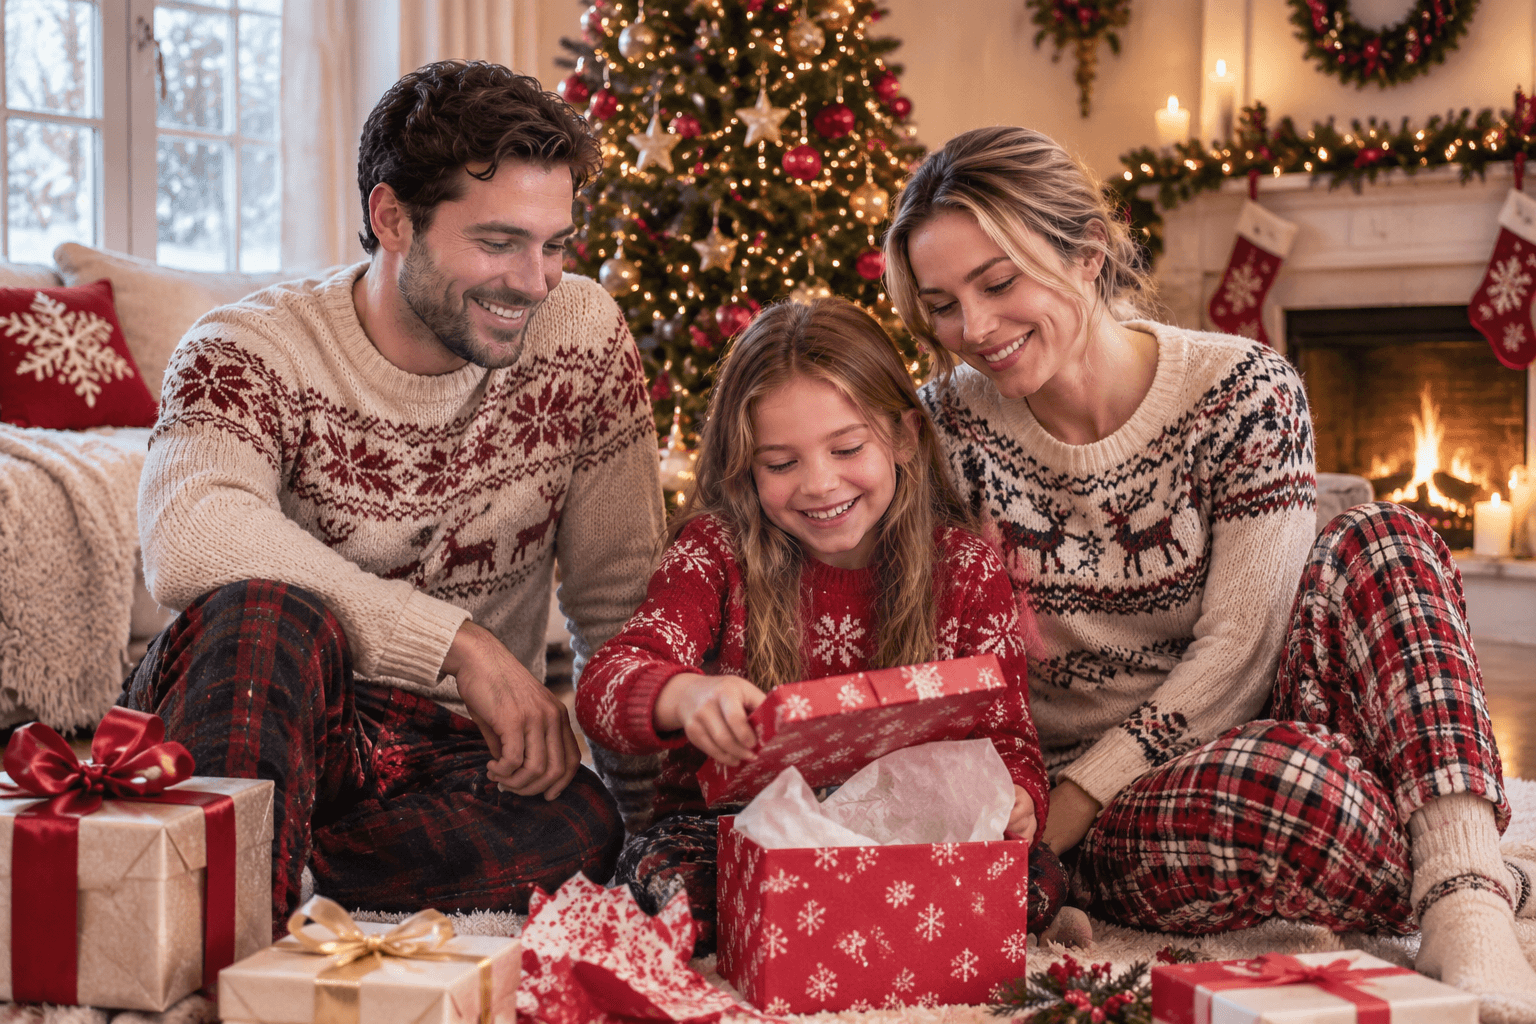
You do not need to write a prompt to use the single, couple, or family scenes. Start with a photo you have permission to use, choose a scene, and review the result before saving it.
1. Sign in and choose your photo
Open the Christmas photo generator and sign in with Google. Choose a clear, still JPG, PNG, WebP, or Apple HEIC/HEIF photo up to 10 MB.
For a single portrait, use a photo of one person. For a couple or family photo, start with everyone you want in the result together in one image. Keep faces visible and avoid distant group shots. Our reference photo guide explains what to look for.
2. Pick the photo type and scene
Choose Solo, Couple, or Family, then select a scene. Each scene has its own prepared prompt, so you can work from the preview rather than write instructions.
For example, try a classic portrait for a warm indoor look, a snowy date for a couple, or gift opening for a family. The scene guide compares these options.
There is also a Custom prompt option. In that mode, you write the instructions yourself and can optionally add a reference image. Without a reference photo, it generates from your text rather than using your likeness.
3. Choose the image shape
The default Auto option uses the uploaded photo dimensions to choose a nearby supported ratio. You can also choose a ratio manually before generating:
- 1:1 for a square image.
- 3:4 or 2:3 for a vertical portrait.
- 4:3 or 3:2 for a wider family composition.
- 9:16 or 16:9 for a tall or wide screen format.
These are starting points. A wide composition gives a group more room, but changing the ratio does not guarantee that every detail will be preserved.
4. Generate and keep the page open
Each Christmas photo generation costs 5 credits. A new account receives 10 credits, enough for two generations. You can review the current packs on the pricing page.
Select the generate button and keep the current page open while the request is submitted and processed. The result appears in the preview area. Generation time can vary.
If a status check is interrupted, use Continue checking in the preview when it is available. This checks the current request again without submitting another generation. Refreshing or leaving the page does not currently restore the in-progress task automatically.
5. Review before downloading
Check the faces, number of people, hands, clothing, and background. AI results can change details or introduce errors, so do not assume that a completed picture is ready to share.
Use Download image to save the result to your device. If you choose to generate a different version, that is a new generation and uses credits again. A generation confirmed as failed returns the credits charged; a successful picture that you do not like is treated differently under the refund policy.
The cover image is an example of a festive scene, rather than a guarantee of the result from your own photo.